|
設定標準 ACL //page 15-7
conf t
access-list 10 permit host 192.168.10.1
access-list 10 deny host 192.168.10.2
int f0/1
ip access-group 10 out //在 f0/1 啟動編號 10 ACL 檢查「出去」封包
查詢 ACL 清單 //page 15-7
en
show access-list
或
show run
查詢介面啟動 ACL //page 15-8
en
show ip int f0/1
重設 ACL 執行計數器 //page 15-11
en
clear access-list counters
設定延伸 ACL //page 15-14
conf t
access-list 100 permit ip host 192.168.10.1 any
access-list 100 permit ip host 192.168.10.2 host 207.16.10.1
access-list 100 deny ip host 192.168.10.2 host 207.16.10.10
int f0/1
ip access-group 100 out
設定命名式延伸 ACL //page 15-18
conf t
ip access-list extended R1-ACL //命名 ACL 為 R1-ACL
permit tcp host 192.168.10.1 any eq www //允許 192.168.10.1 的 http 封包通過
permit tcp host 192.168.10.2 ant eq ftp //允許 192.168.10.2 的 ftp 封包通過
deny ip any any //全部拒絕,不下這條系統也會自動執行,但不會出現在 show access-list 中
int f0/0
ip access-group R1-ACL in
檢查 Source Port 的ACL //page 15-22
conf t
access-list 100 permit tcp host 207.16.10.1 eq 80 any //檢查來源 Port 的ACL
access-list 100 deny ip any any
int f0/1
ip access-group 100 in
進階 ACL 設定(只讓PC-C連接 HTTP,其它流量無限制) //page 15-25
conf t
access-list 100 permit tcp host 192.168.33.3 host 172.22.242.23 eq 80
access-list 100 deny tcp any host 172.22.242.23 eq 80
access-list 100 permit ip any any
int f0/0
access-group 100 out
簡易防火牆設定 //page 15-29
conf t
ip access-list extended TCPIN //命名 access-list
permit tcp any any established //只允許內網連出-外網回應的封包
deny ip any any
exit
ip access-list extended TCPOUT
permit tcp 192.168.10.0 0.0.0.255 any eq www //只允許 192.168.10.0/24 使用 http
permit tcp 192.168.30.0 0.0.0.255 any eq ftp //只允許 192.168.30.0/24 使用 ftp
deny ip any any
exit
int s0/10
ip access-group TCPIN in
ip access-group TCPOUT in
模擬 ISP 設定 ACL 阻擋私有 IP 連外網 //page 15-35
conf t
access-list 10 deny 10.0.0.0 0.255.255.255 //阻擋 10.0.0.0 連外網
access-list 10 deny 172.16.0.0 0.15.255.255 //阻擋 172.16.0.0 ~ 172.31.0.0 連外網
access-list 10 deny 192.168.0.0 0.0.255.255 //阻擋 192.168.0.0 連外網
access-list 10 permit any
int s0/0/1
ip access-group 10 in
※172.16.0.0/255.240.0.0 = 172.16.0.0 ~ 172.31.0.0
※萬用遮罩位元 = 0:代表「要」檢查對應位元的值;0 代表要完全比對
※萬用遮罩位元 = 1:代表「不」檢查對應位元的值;255 代表完全不用比對
測試 ACL 檢查奇數或偶數網路 //page 15-39
conf t
access-list 10 permit 172.10.0.0 0.0.254.255 //偶數子網路允許通過
access-list 10 deny 172.10.1.0 0.0.254.255 //奇數子網路不允許通過
access-list 10 permit any //都允許通過
int s0/0/1
ip access-group 10 in
※奇、偶子網判斷:以 172.10.0.0 為例,檢查第3個十進位是奇數還是偶數
※為奇數時,第24位元的二進位必為1;為偶數時,第24位元的二進位必為0
※因此只要檢查第24位元即可 => 00000000.00000000.11111110.11111111 => 0.0.254.255
vty 啟動 ACL //page 15-41
conf t
access-list 10 permit host 10.10.10.1
access-list 10 deny any
line 0 4
password ccna
login
access-class 10 in //在 VTY 介面中啟動編號 10 的 ACL
在 IPV6 啟動 ACL //page 15-45 ~ 15-48
conf t
ipv6 access-list prefixacl //ipv6 只能用命名方式
deny ipv6 2001:aaaa::/64 host 2001:cccc::2
permit ipv6 any any
int f0/0
ipv6 traffic-filter prefixacl in //啟動 prefixacl 的 ACL
—–
conf t
ipv6 access-list httpacl
permit tcp host 2001:bbbb::2 host 2001:cccc::2 eq www
deny tcp any host 2001:cccc::2 eq www
permit ipv6 any any
int f0/1
ipv6 traffic-filter httpacl in
—–
conf t
ipv6 access-list vtyacl
permit ipv6 host 2001:bbbb::3 any
deny ipv6 any any
line vty 0 4
ipv6 access-class vtyacl in
line vty 0 4
password ccna
login
|


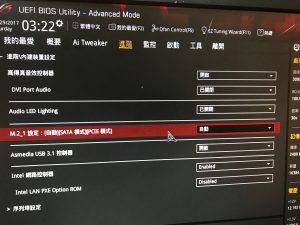
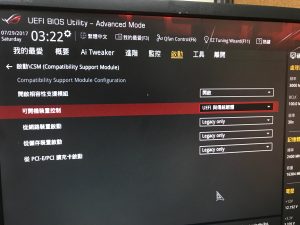
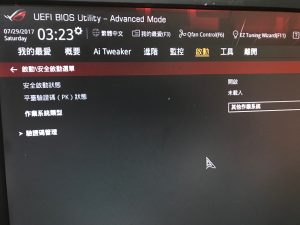
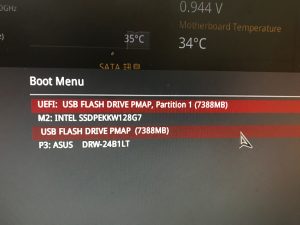
 (長這樣)
(長這樣)